I recently participated in the Vintage Halloween Swap on Craftster, and had the fabulous good fortune to be partnered up with my friend FiberAlchemist. The first thing I decided on making was a Spider Web Table Topper, that I saw the pattern for on Red Heart's website. It calls for 1 skein of their Super Saver, but since I hate how scratchy that stuff feels, I made mine with most of a skein of Premier Yarns Everyday Soft Worsted Heather in charcoal for the web, and half a skein of Lion Brand Heartland in Yosemite for the lacy edging, both dug out of my stash.

While I was making it, I discovered a flaw in the pattern. Sadly I was on the last row of webbing at the time! I went back and rewrote the pattern, made myself a crazy color coded chart, and even a matching set of rainbow stitch markers to match the chart, and re-crocheted the whole thing. Glad I did though, since it came out so much nicer after I fixed the pattern. Since the yarn came from stash, the only cost was my time in frogging and rewriting the pattern.
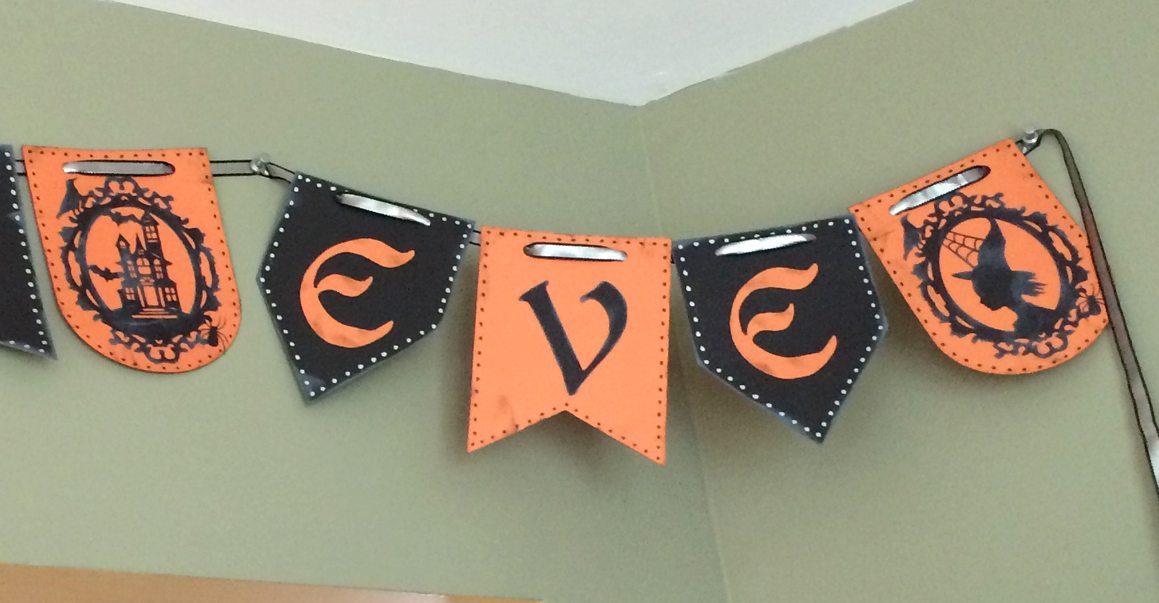
Since I was trying to craft from stash as much as possible, I decided to look around and see what I could make with my Silhouette. I found some black and orange card stock, and some silver ribbon with black edging that I knew FiberA would like. I bought the cameo cut files from the Silhouette store, which was the only cost.
After cutting all the bits and pieces, I distressed everything with some Tim Holtz distress ink pads, distress paint pads, and markers, before putting it all together with glue dots. Not bad for a $4 project!
My final project for FiberA was a sign I saw a tutorial for on
the Silhouette blog, which called for cutting the words out and using the 'dead space' as a stencil instead of using the words themselves. Then using a paint pen to 'scribble' in the letters, and removing the vinyl to leave the scribbles behind. I started off by following the tutorial, but sadly, that just did NOT work. The paint pen bled under the vinyl stencil so much that the words were completely illegible! So I sanded the paint off, and started over. I used the Silhouette for what it was intended, by cutting the words out of silver vinyl, and applying them like normal. But there was a bit of dead space at the top, so I added a scrolly skull to fill it in. I like how it kinda feels like a tombstone with the curved top. The wooden sign came from Michael's, and was priced as $10.99, but I had a 50% off coupon, so it was $5.49, plus $2 for the cut files from Silhouette. That made a grand total of $11.49 for 3 awesome projects.